Liberating Tuya WiFi plug
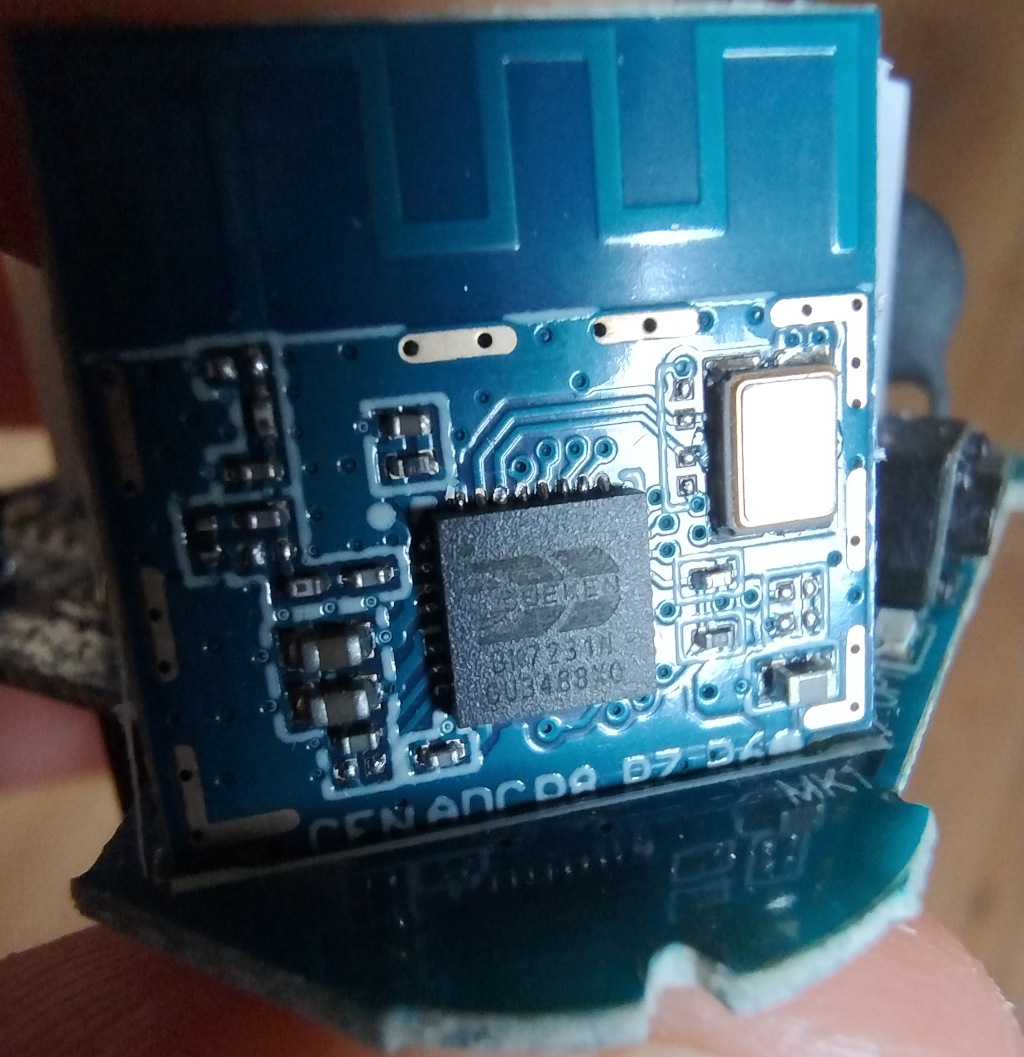
I use Home Assistant nowadays to manage electric equipment at home. This is a remarkable leap forward since my first automation attempts last year. I’ve been using ESPHome as custom firmware for Sonoff S26 plugs, which are based on ubiquitous microcontroller ESP8266. But now it’s easier to find cheaper Tuya 20A smart sockets for as low as 150₴ (under 4$) a piece. They are even equipped with power meter. But the challenge is that they use LibreTiny chip BK7231N. Here’s what I learnt do.
First of all, I tried tuya-couldcutter. While it could potentially help with my Aubess 20A plug, it failed with my specific version. Probably, Tuya patched the vulnerability. So I have to open the case to attach a serial programmator.
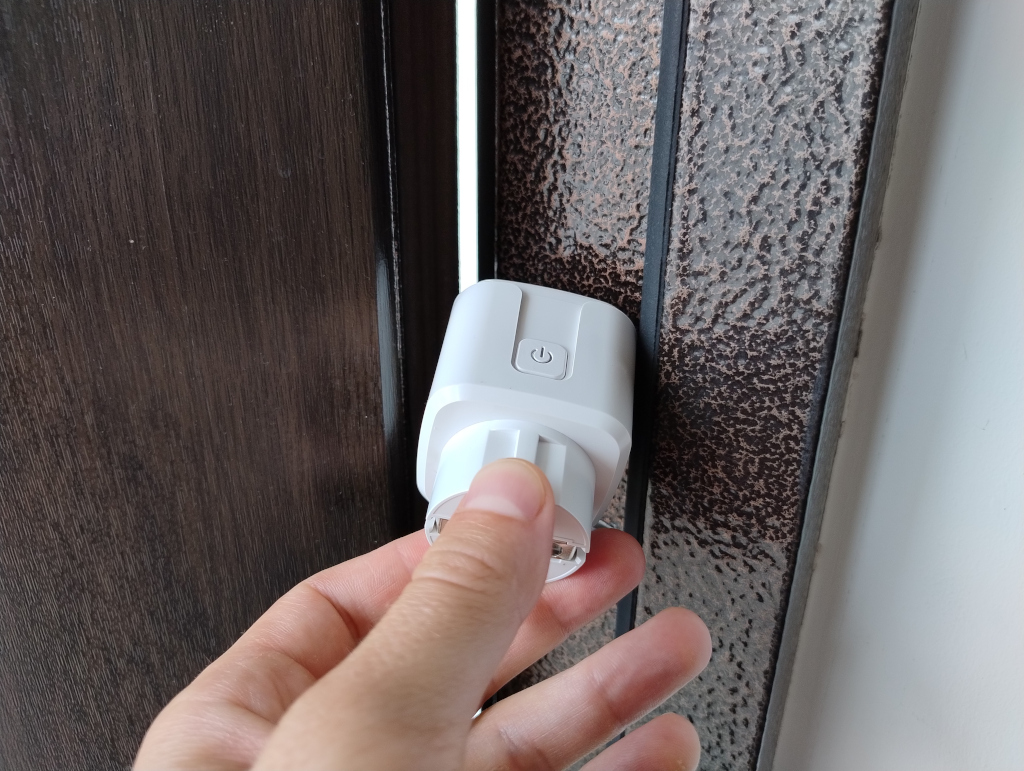
To do that without destroying it is a challenge. Unlike Sonoff, these plugs don’t have any screws. Parts of the case are glued and the glue can be broken by applying pressure gradually to deform the case slightly. Some people use clamps. I succeeded using entrance door as a leverage.


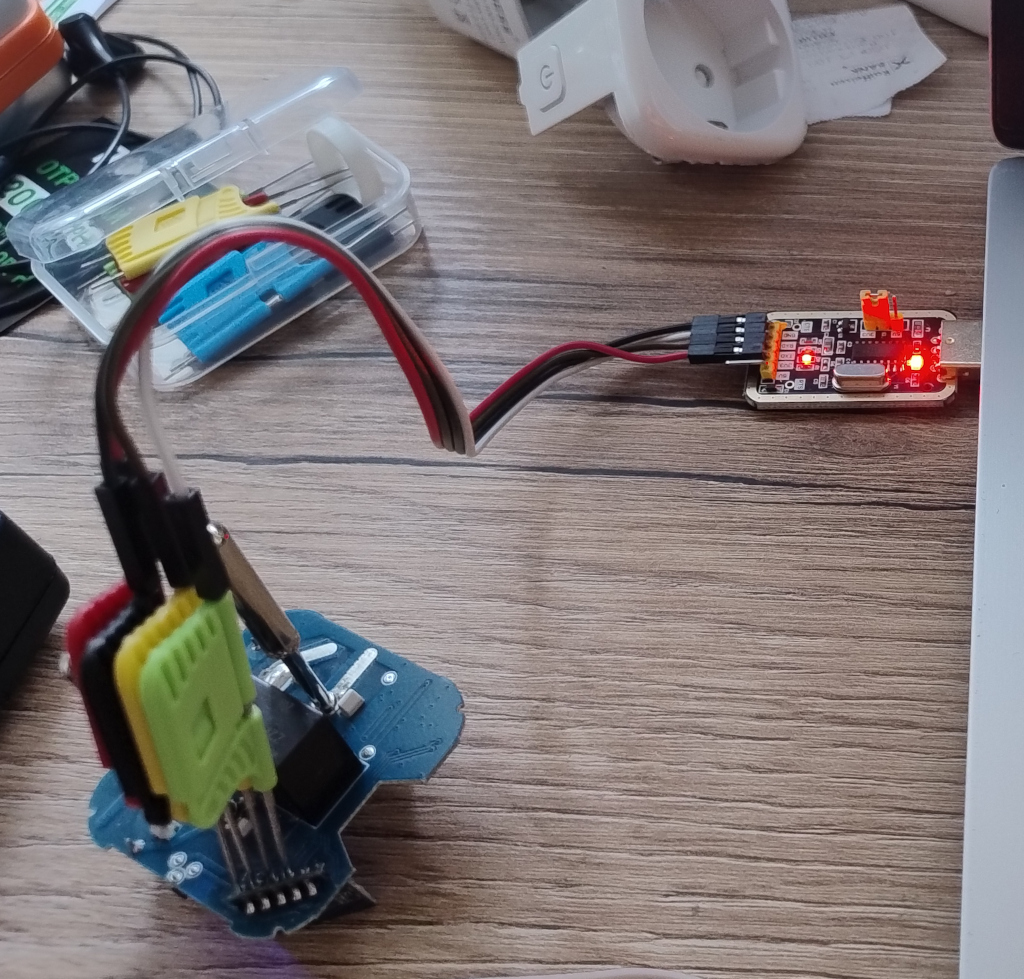
The pins of the board C2BS (datasheet) are easy to identify. I use IC clamps from AliExpress to attach the programmator.

ESPHome configuration could be bootstraped using an online tool
UPK2ESPHome. And finally, to install the firmware,
it’s enough to run esphome run tuya-1.yml. Conveniently, it suggests how to
connect the programmator, and how to reset the microcontroller while the
flasher waits for connection (grounding the pin CEN). It could take a couple of
attempts because of unstable connections but succeeded eventually.
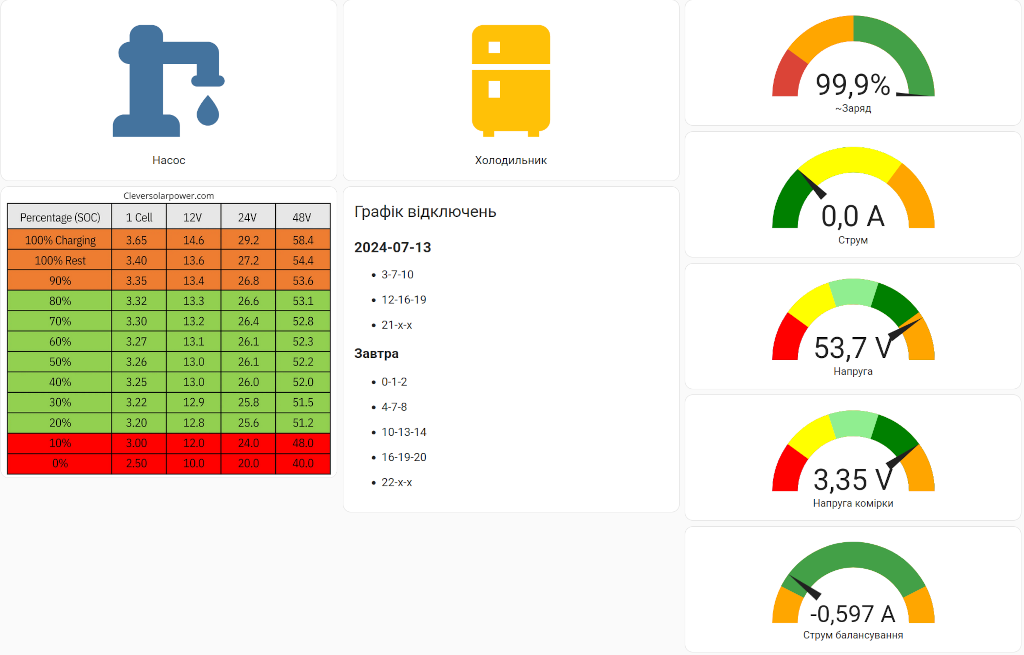
Now beyond of obvious use of smart switches with Home Assistant, there are a couple of unexpected opportunities. First of all, this is an embedded software platform in an elegant case, connected to WiFi network and conveniently powered from a standard AC socket. Second, BK7231N is capable of BLE communications. So potentially, esphome-jk-bms could be ported from ESP32 to create a cheap and convenient battery monitor.
